6 Repairs
6.1 Speedo Repair
See Speedo Upgrade the repair was necessary, but it was also an upgrade / modification.
6.2 Canvas Tarp Repair
I wanted to keep the canvas tarp, at least for the foreseeable future. It had three things wrong with it though: 1) it had several pin-prick wear holes in it that let in water; 2) some of grommets had come out, and the bungy cord for them was wrecked; 3) several of the bands were busted.
The first thing I did was to buy some brass grommets and some Poly backed camo material pieces. This material is no longer available from this seller, but I assume you can still buy similar if you do a search. I folded the material in half, and then glued this to the back (underneath) of the army tarp. This provided a strong basis for the new grommets.

Recognising that the poly material was neither large or in unlimited volumes, I also brought some camo material. This was used to make the Winch Covers. This material is no longer available from this seller, but I assume you can still buy similar if you do a search.
Sewing on straps and flaps. My tarp has flaps at the front (just abaft the cabin) where these flaps can be held open to allow air flow into the tray, or closed to stop rain going into the tray. The only trouble was that the retaining staps had broken, so these flaps just flapped around at highway speeds hitting the cabin roof, making lots of noise, and destroying themselves. Stiching new flaps was not something that could be done on a home sewing machine. However, I did find: Speedy Stitcher Sewing Awl - which is a cheap hand tool that lets you stitch with heavy duty twine. The link here is for it at BigW, but I brought it online at Ebay. I also got waxwd thread from Ebay for $28 for 180yds. This is 1mm thread and super strong. The hand stitching is certainly not fast - say 10 seconds per stitch - but it is certainly durable. (Think the stitching on hob-nailed boots.) The thread is also available in multiple colours. I got black and a brown / tan to suit the camo colours.
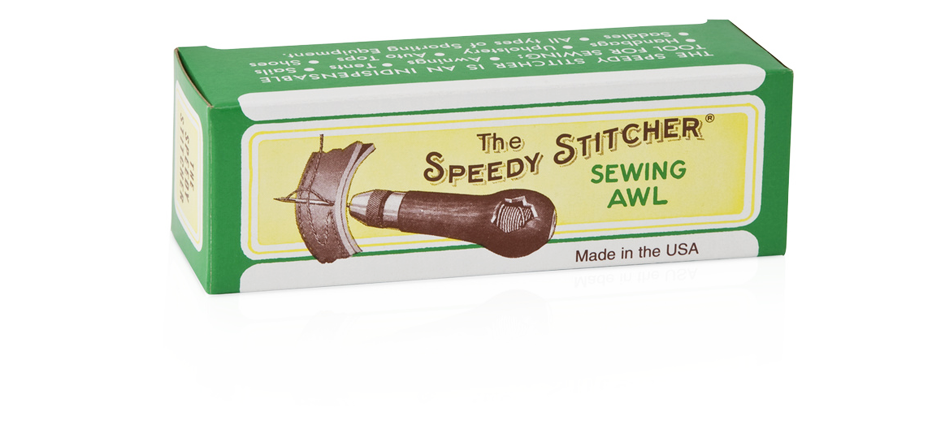 Speedy Sticher hand tarp sewing
One of the Mog owners that I have met had modified his tarp to include a zip up the middle of the side. This allows him to open up the front half, or the back half, while leaving the other half down. I like that idea, but I was not aware of where I could get such a modification done. I have since found Werribee Tarps who I believe can make such modifications.
6.3 Starter Motor Repair
Another repair that could be considered an upgrade. The starter motor is one of the items that is prone to failing. I got mine changed out while it was having work done at MogCentral. Call it a preemptive repair.
6.4 Generator Repair
(see also Generator / Alternator Upgrade) Another repair that could be considered an upgrade. The generator is one of the items that is prone to failing. I got mine changed out for an 100A alternator while it was having work done at MogCentral. This is not a simple swap. It involves putting in new brackets, providing the alternator, and then re-wiring the cabling. For non-military purposes, an alternator is better than a generator. Call it a preemptive repair. $1,072 (2024-10-12)
6.5 Tray Repair
The Torsion free tray is made up of several bits. Most people have some level of rust in the metal parts, and most have issues with the sacrificial timber flooring. The flooring is (was) made of 19mm marine ply that was bolted / machine screwed to the metal structure. Many Mog owners replace the ply. This is comparatively easily done, as the ply is in several sections. The ply is attached using the bolts shown below. Neither Countersunk Screws or Coach Head Bolts, I have not found anyone that can name / supply these correctly for replacement. The flat tops avoid obstructing any load, the shank appears to be M8, and little protrusions on the bottom of the head are the equivalent of the square sections in coach bolts - they stop the head rotating in new material (but are less effective in old material).
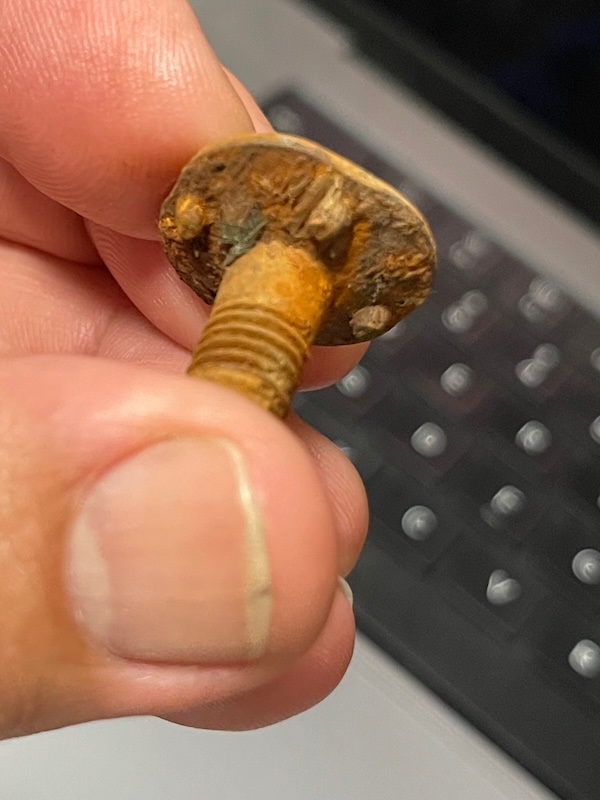
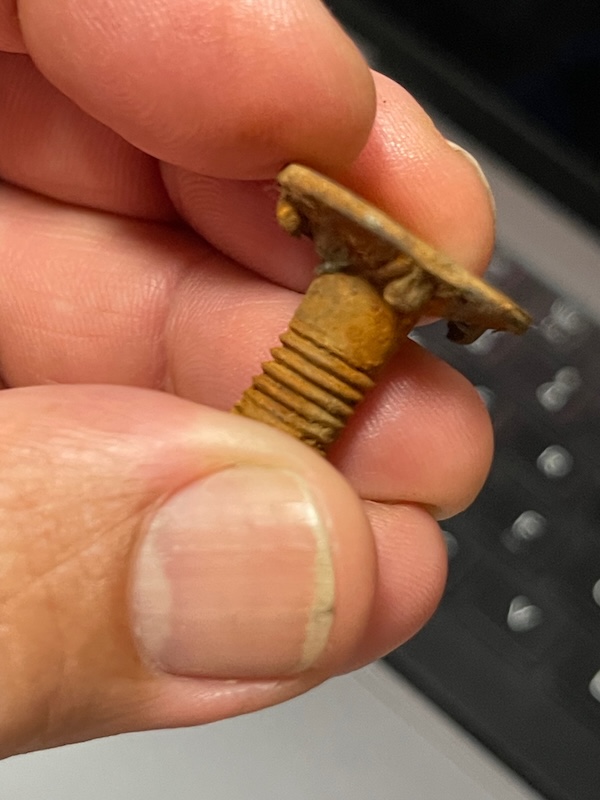
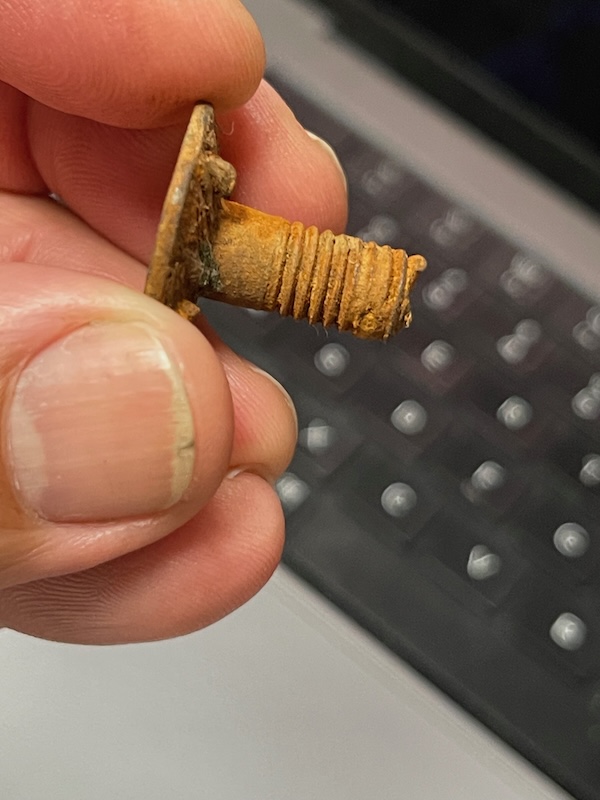
Using Google image search on the above, I was able to find "Fanged Elevator Bolts" or "Fanged Bucket Elevator Bolts" that have the flat top, countersunk heads and 'fangs' to grip the timber. Not sure why they would be used on elevators. 4B Australia seem to have them.
6.6 Brakes on due to lack of air pressure Repair
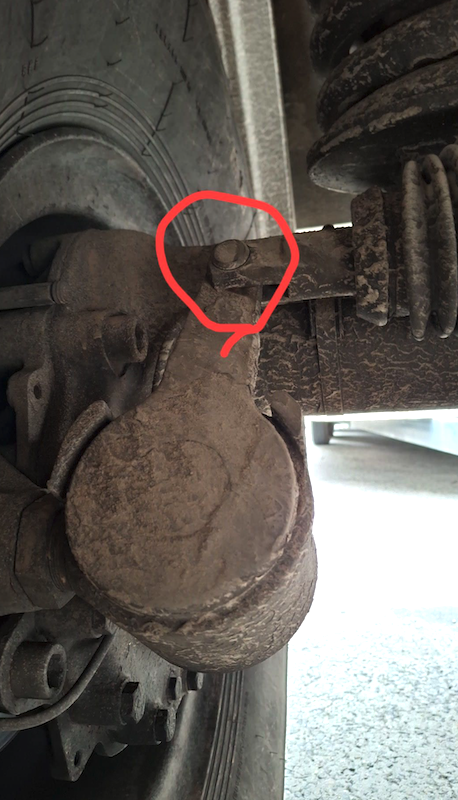
The brakes on the Mog are air over hydraulic driven. Unless the compressor has charged up to around 8-10 bar, then the brakes are effectively locked on. Any failure of the air compressor therefore means that Mog is not going anywhere. To fix this, you can add air via the glad hands at the rear of the truck, or you can release the brakes. Brad Tugnett posted on Ozmog that you "Put the truck in gear, and pull the two pins in your park brake actuator, on your rear axle. Don't need to do anything with brake system. Once the pins are removed, hit the cam over towards the wheel, park brake should be off."